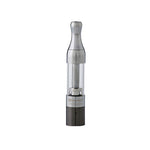
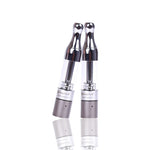
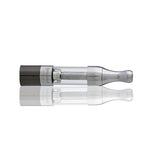
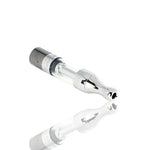
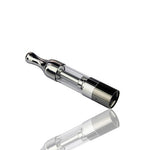
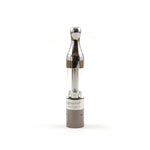
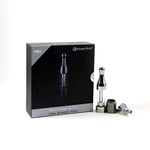
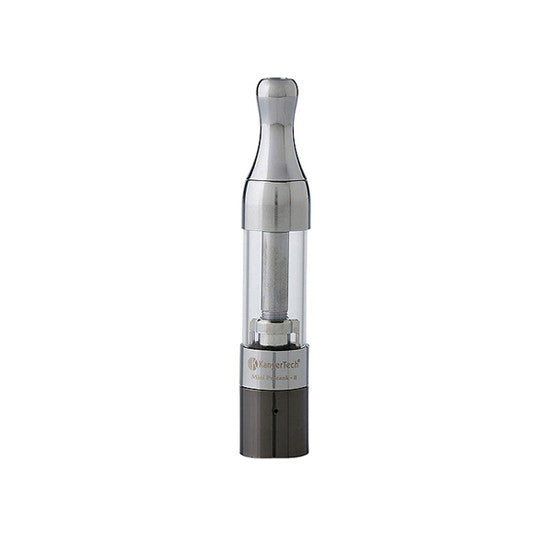
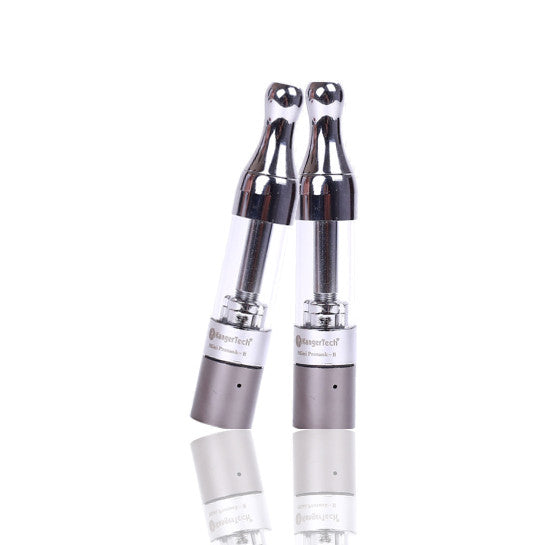
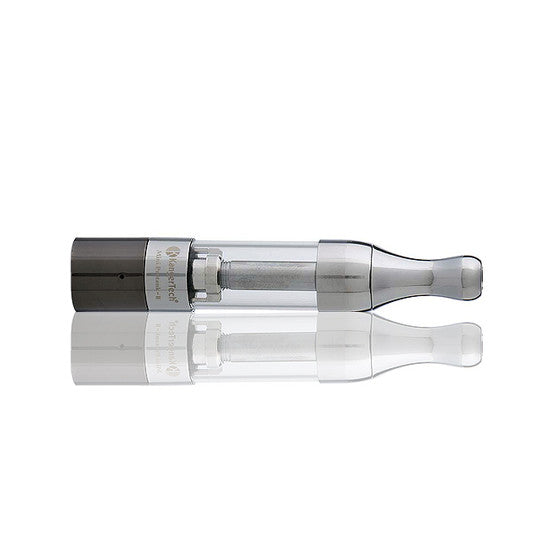
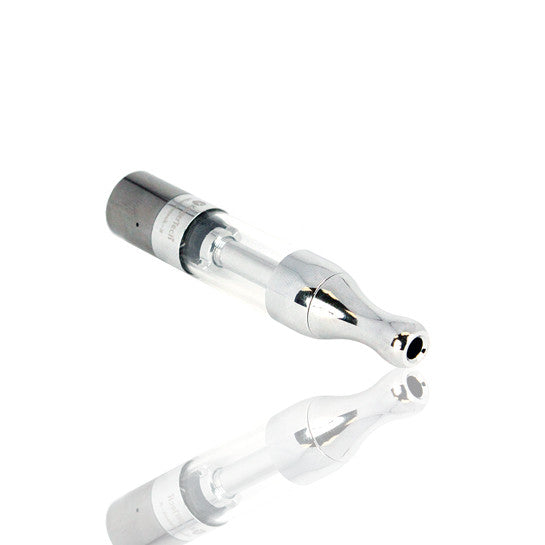
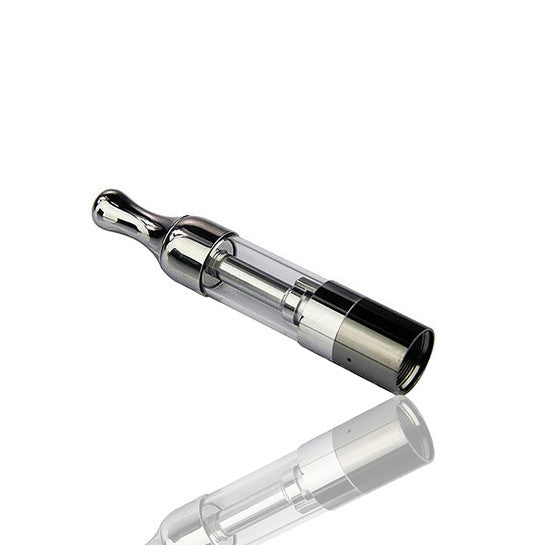
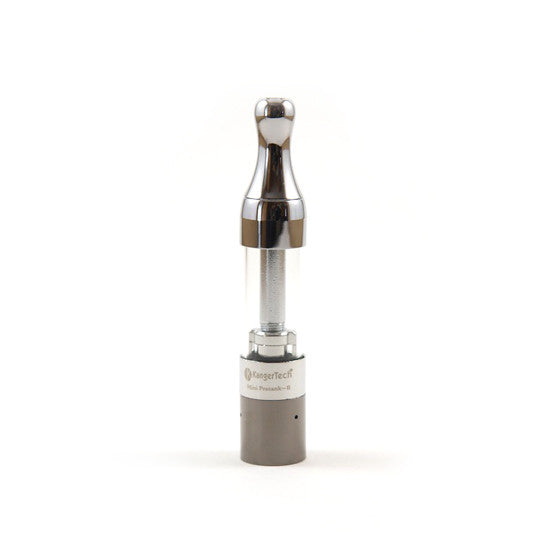
Kanger MINI Protank 2 v.2 Glassomizer (With Removable Tip)
The best just got better with the Kanger MINI Protank 2, version 2! Kanger has revolutionized the Vaping Community with the creation of the very first Glassomizer, the original Kanger ProTank. The popularity of the ProTank was so overwhelming, that Kanger quickly released the Mini ProTank, designed to fit seamlessly on eGo-size batteries. Soon after, Kanger introduced the Mini ProTank 2 to the scene. It maintained all of the incredible qualities of the original Mini ProTank 2, but was also able to be disassembled for easy cleaning. Unfortunately, the one part that remained static, and could not be disassembled, was the drip tip . . . Until now.
Introducing . . . The All New Kanger Mini ProTank 2, Version 2, with a removable drip tip. This is the new and improved version of the insanely popular Mini Pro Tank 2! As with all of their products, Kanger has manufactured this Glassomizer with the same quality materials and craftsmanship you have come to know and expect from Kanger. The body of the Mini ProTank 2 is made with 304 stainless steel, which is a very solid, durable, and corrosion-resistant metal. This substantially adds to the lifetime of your tank.
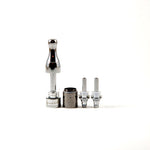
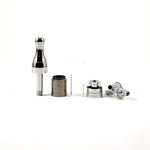
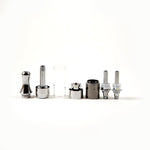
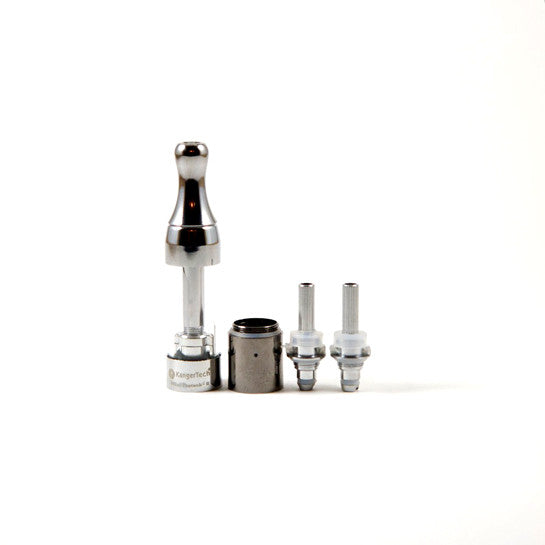
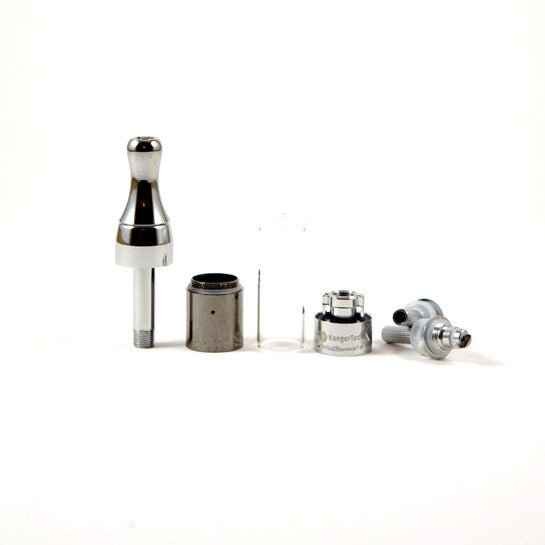
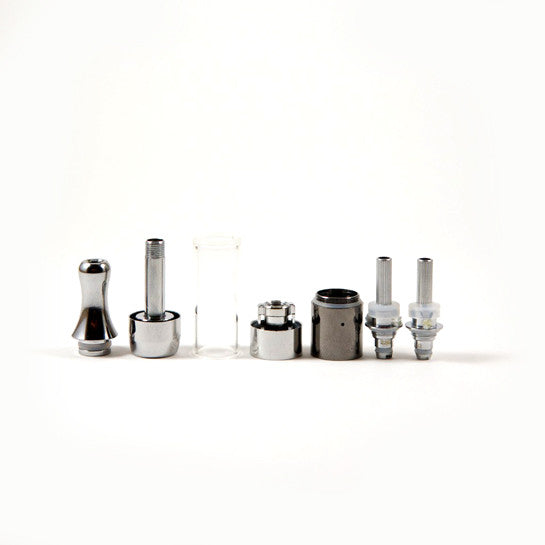
The Mini ProTank 2, Version 2 has all of the same qualities as the Mini ProTank 2, but with improved design and features. You can now remove the drip tip, not only making it easier to clean but also allowing for more customization. You can use any 510-size drip tip you choose, allowing you to modify the look and feel of your Glassomizer. In fact, the entire tank can be disassembled, allowing you to access all of the crevices without needing to use Q-tips or other small instruments.
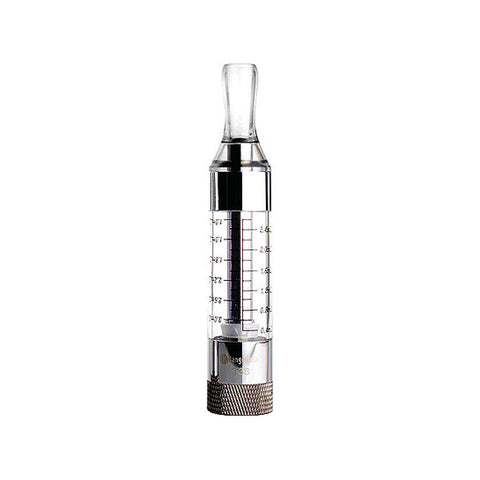
The Mini ProTank 2’s Pyrex (borosilicate) glass tank is also completely transparent. This is a wonderful feature, as it allows you to readily see the amount of e-juice that remains in the tank. This way, you don’t have to guess when your tank is drying up and needs to be refilled. The only disadvantage of the glass tank is the potential to break if dropped. However, Kanger responded to this by offering replacement glass tubes. This is a very smart move by Kanger, as it is substantially less expensive to replace the tube than the Mini ProTank 2 entirely. Not only are replacement tanks available, but they are offered in several colors as well. This allows you to easily change and customize the appearance of your Kangertech Mini ProTank 2.
In addition, the all-new Kanger Mini ProTank V2 is 100% glue-free, thereby eliminating the risk of having the various parts unglue and fall apart. This new design makes this Glassomizer very durable and well-sealed. Kanger specifically designed the Mini ProTank 2 V2 this way in response to complaints from customers who experienced leaks in their original ProTank and Mini ProTank Glassomizers.
If you are looking for a truly splendid tank that is beautiful, compact and performs amazingly, you simply can’t go wrong with the Kangertech Mini ProTank 2 v2.


Purchase Replacement Atomizer Coils for the Kanger Mini ProTank 2

Purchase Replacement Glass Tubes for the Kanger Mini ProTank 2
|
QUICK GUIDE |
|
|
HIT TYPE: |
Mouth-to-Lung |
|
E-JUICE CAPACITY: |
1.5 ml |
|
AIRFLOW TYPE: |
Fixed |
|
FILL TYPE: |
Bottom-Fill |
|
AVAILABLE RESISTANCE: |
1.8 Ohms, 2.2 Ohms, 2.5 Ohms |
Kanger Mini ProTank 2 Specifications:
Manufactured by: Kangertech
Tank Material: Pyrex Glass
Body Material: 304-Grade Stainless Steel
Liquid Capacity: 1.5ml
Thread: eGo (Can Fit on 510 with a Thread Adapter)
Available Resistance: 1.8 Ohms, 2.2 Ohms, 2.5 Ohms
Recommended Voltage (1.8 Ohms): 3.1V - 3.4V
Recommended Voltage (2.2 Ohms): 3.5V - 3.8V
Recommended Voltage (2.5 Ohms): 3.9V - 4.2V
Length (without drip tip): 1.94 Inches (49.3 mm)
Width: 0.56 Inches (14 mm)
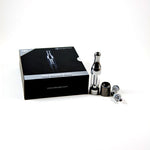
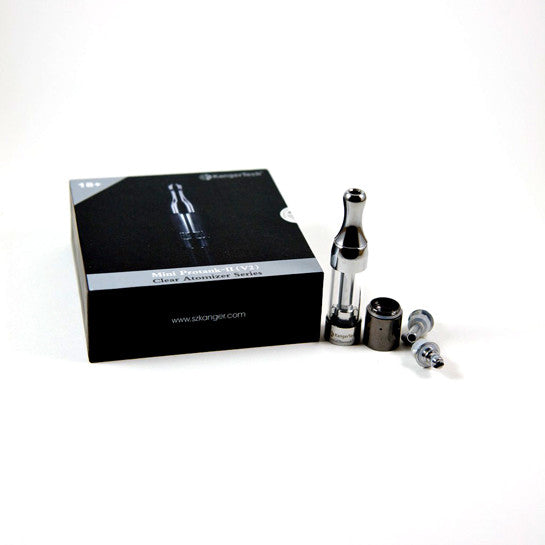
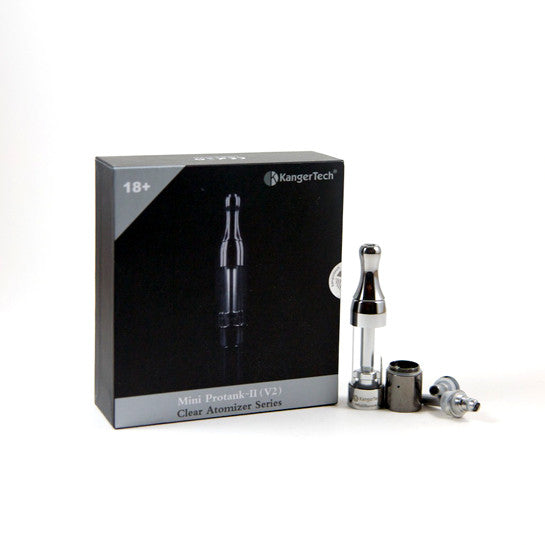
Kanger Mini ProTank 2 v2 Includes:
1 x Kanger Mini ProTank 2
2 x Kanger Atomizer Coils
1 x Instructional Booklet
Kanger Mini ProTank 2 Features:
Replaceable Atomizer Heads
Removable Drip Tip
Replaceable Pyrex Glass Tank
Stronger base and improved design controlling air flow
Breaks down into individual parts for easy cleaning
100% Glue-Free
Bottom Coil Design
1.5 ml e-liquid capacity
Fits flush on ego style batteries
Matching Ego Cone Sleeve included
Tips For Using The Kanger Mini ProTank 2:
- Avoid placing your glassomizer in your pocket, as it is constructed with glass, which can break. If the glass cracks or breaks inside your pocket, it can cause injury.
- You will notice a hollow metallic tube directly in the center of the tank. This tube is solely for airflow from the tank into the mouthpiece. Avoid allowing e-juice to get into the tube when refilling your tank, as this can cause the e-juice to get into your mouth.
- We recommend using a cloth towel or paper towel when replacing the atomizer coil or refilling the tank with e-juice, as leakage can occur.
- You may experience flooding or gurgling from time-to-time when using this tank. This can be the result of e-juice having gotten into the center airflow tube. Cleaning the tube out with water and thoroughly drying it will resolve this problem. Gurgling and flooding can also be the result of wattage/voltage that is too low to adequately vaporize the e-juice. Increasing the output power will help resolve this issue. Lastly, gurgling and flooding can be the result of an atomizer coil that is in need of replacement. Simply replacing the old coil with a new one will help resolve this issue.
- When you remove the base from the body of the tank, the atomizer coil may accidentally unscrew as well. It is always good practice to ensure the atomizer coil is securely screwed into the base prior to attaching the base back onto the body of the tank.
- If you notice small traces of e-juice on or around the battery thread area where the battery makes contact with the tank, do not worry. This is a normal occurrence that is experienced by all vapers. We suggest using a cloth towel or paper towel to sufficiently dry the area prior to attaching the tank back onto battery.
- We recommend keeping your tank more than 1/3 full of e-juice at all times. This assists in ensuring a proper vacuum within the tank, which not only helps optimize the vape, but also helps reduce the change of leakage.
- Depending on how much you vape, atomizer coils generally last between 5 – 10 days. We recommend replacing your atomizer coils within that time-frame for optimal results.
- First, rotate the tank so that the mouthpiece is facing the floor.
- Next, unscrew the base from the tank in a counterclockwise direction.
- Next, begin filling your tank with e-liquid. To do so, allow the e-juice to cascade down the walls of the tank, making sure to avoid letting any e-liquid to get into the center hole, as that is solely for airflow.
- Then, screw the base back onto the tank, ensuring that it is screwed on securely. Make sure that you do not over-tighten it.
- Finally, rotate the tank upright and check for any leaks. Once confirmed, attach the tank onto your battery.

